DIY Custom Banner projects can instantly elevate events, classrooms, or storefronts, inviting beginners to explore hands-on design while creating a durable, reusable asset that communicates celebration, branding, or essential information with sparkling clarity, bold contrast, legibility from a distance, and a touch of personal flair that helps the sign stand out in any setting. From color theory and typography to margins, alignment, and layering, this guide shows you how to transform everyday supplies into a polished sign, guided by custom banner ideas for beginners, so you gain confidence as you plan dimensions, test readability at various viewing distances, and assemble using precise measurements, clean edges, and careful finishing. This guide explains how to make banners DIY, outlining a practical workflow that starts with a concept, moves through selecting weather-resistant materials and durable adhesives or laminates, and ends with a clean finish, ensuring your banner communicates the right mood while staying within budget, schedule, and skill constraints. For signs that endure wind, rain, and sun, a vinyl banner tutorial adds steps for transferring text, aligning graphics, applying transfer tape correctly, and sealing edges to prevent peeling, with troubleshooting tips for air bubbles, curling, color bleed, and surface wear. Finally, you’ll reference banner design tips for beginners and incorporate practical cues to keep the project approachable, affordable, and enjoyable enough to tackle again, building a growing portfolio of event graphics that showcases your progress.
Beyond the step-by-step basics, the idea of a DIY banner extends into practical signage that communicates at a glance, using handmade signage, event banners, and customized graphics that fit indoor or outdoor contexts. As you plan, consider the same goals—visibility, legibility, and relevance—using terms like lightweight signs, promo banners, or decorative banners to convey meaning in different settings. Material choices, printing methods, and finish options like hems, grommets, or pole pockets become part of the craft, while you test readability, weather resistance, and transportability across venues. The emphasis shifts toward design principles—contrast, spacing, alignment, and color harmony—without relying on the exact search terms, so readers discover related topics such as desktop publishing for signs, vinyl cutting projects, and budget-friendly signage. Viewed through an LSI lens, the topic coalesces around adaptable signage for events, classrooms, and storefronts, encouraging readers to experiment with different substrates, fonts, and layouts to develop confidence and a cohesive visual language.
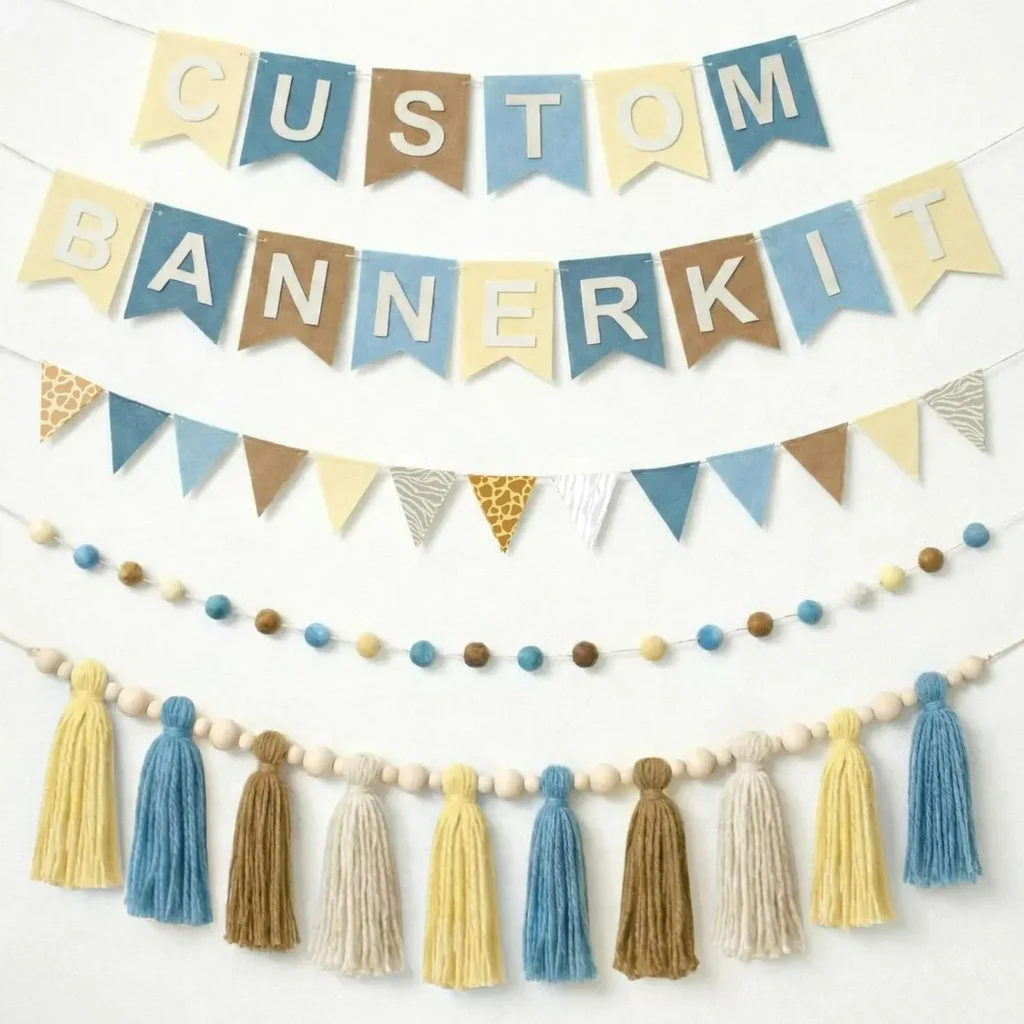
DIY Custom Banner: A Beginner-Friendly Project for Any Space
A DIY Custom Banner is an accessible, high-impact project that can instantly elevate events, classrooms, or storefronts. For beginners, it offers a friendly path into design and craft, delivering professional-looking results with a little planning, the right materials, and a dash of creativity. Whether you’re planning a birthday party, a grand opening, or a seasonal display, this project can build confidence while delivering a functional banner you’ll be proud to display.
Starting with a clear purpose helps set up your success. Think about the banner’s role, whether it’s to celebrate, inform, or brand a space, and consider where it will hang and what distance viewers will be from it. A thoughtfully defined concept—paired with clean lines and legible type—sets the foundation for a DIY Custom Banner and makes the end result feel polished. You’ll naturally surface related ideas such as custom banner ideas for beginners as you plan, which can spark fresh, beginner-friendly designs.
Planning and Materials: Essential DIY Banner Materials and Tools
A smooth banner project begins with thorough planning and the right toolkit. For a durable, polished result, assemble a basic set of materials: sturdy banner material (vinyl or reinforced fabric), a cutting tool, adhesive or grommets for hanging, transfer tape or masking tape, a measuring ruler, and a marker or chalk for layout. If you’re aiming for a vinyl banner, you’re engaging in what many call a vinyl banner tutorial, which lays a solid foundation for outdoor signage.
Choosing weather-resistant materials that still fit your budget is key for beginners. DIY banner materials and tools often include edge finishing options like hemming or magnetic strips, depending on where and how you plan to display the banner. This planning phase mirrors the practical steps in many beginner projects and helps you avoid common frustrations later in the process.
Design Elements: Typography, Color, and Layout—Banner Design Tips for Beginners
With your size defined, focus on typography and color. For beginners, select one or two highly readable fonts and pair a bold headline with a simpler subtext. A high-contrast color palette—such as dark text on a bright background—improves legibility from a distance and supports a strong visual impact. A DIY Custom Banner often succeeds when bold colors meet clean contrast, reinforcing readability and style for any event.
Color and typography choices should also reflect the banner’s purpose and location. When working with vinyl or fabric, consider how inks or pigments behave on the material to maintain durability and vibrancy. Exploring related ideas like custom banner ideas for beginners can inspire color palettes and type pairings that feel fresh yet beginner-friendly, helping you build confidence in your design choices.
From Sketch to Sign: A Vinyl Banner Tutorial and Transfer Techniques
Prepare your artwork and templates by creating a scalable design that matches the final banner size. If you use digital software, build a simple template; if not, draft a layout on graph paper to keep proportions consistent. Printing a small proof helps check readability and alignment before cutting, ensuring your main message stands out and supporting elements don’t overwhelm the focal text.
Cutting and assembling the banner base follows. For vinyl banners, edges are often sealed or hemmed to prevent tearing. Transfer tape or masking tape becomes essential when applying cut vinyl letters, helping you achieve clean, bubble-free lettering. If you’re new to this process, a vinyl banner tutorial can be especially helpful to guide you through transfer techniques and ensure durable results.
Finishing Touches, Variations, and Care: Maintenance for Long-Lasting DIY Banners
After assembling, add finishing touches such as grommets or pole pockets to anchor the banner securely for both indoor and outdoor displays. Quick readability checks from typical viewing distances help you catch any crowding or spacing issues before you finalize. This is where beginner-friendly design principles converge with practical craft, and small adjustments can dramatically improve visibility and impact.
Finally, consider maintenance, storage, and longevity to reuse your banner for future events. Roll or fold the banner carefully and store it in a cool, dry place away from direct sunlight. For vinyl banners, avoid creasing and protect with sleeves or tubes during transit. With thoughtful care, your DIY banners can become reliable assets for branding and recurring displays, while reinforcing the practical, skill-building journey of banner design for beginners.
Frequently Asked Questions
What is a DIY Custom Banner and how can beginners apply banner design tips for beginners to start their project?
DIY Custom Banner is a hand-made sign you design to celebrate, inform, or brand a space. Start by defining the banner’s purpose and choosing an indoor or outdoor size, then apply banner design tips for beginners—focus on high contrast, legible type, and clean margins. Keep the layout simple and test readability from typical viewing distances.
How to make banners DIY: what are the essential DIY banner materials and tools for a beginner project?
For a beginner project, assemble a basic kit: sturdy banner material (vinyl or reinforced fabric), a cutting tool, adhesive or grommets for hanging, transfer tape or masking tape, a ruler, and a marker. Plan your design first to minimize waste, and choose materials that resist weather without breaking the budget. This setup aligns with the DIY banner materials and tools you’ll use across projects.
What is a vinyl banner tutorial and how can beginners follow it to create a durable DIY banner?
A vinyl banner tutorial walks you through cutting, applying letters, and finishing edges for a weather-resistant sign. Beginners should print an at-scale template, test transfer on scrap, and use transfer tape to apply vinyl smoothly, checking for bubbles and alignment. With careful steps, you’ll achieve clean lines and durability.
How should I approach typography and color in a DIY Custom Banner, using banner design tips for beginners?
Choose one or two readable fonts and high-contrast colors suited to the space and mood. Use a simple layout with a clear focal message, generous margins, and accessible font sizing to maximize readability from distance. This approach reflects banner design tips for beginners and keeps your DIY banner looking professional.
What are smart ideas for maintaining, storing, and reusing a DIY Custom Banner, including custom banner ideas for beginners?
Store banners rolled in a cool, dry place away from direct sun; roll or fold carefully to avoid creasing. For longevity, use protective sleeves or tubes during transit and inspect for wear after each use. These tips, plus custom banner ideas for beginners, help you plan future displays and reuse your banner projects.
| Section | Key Points |
|---|---|
| Introduction | – DIY Custom Banner is beginner-friendly and yields professional-looking results with planning, the right materials, and some creativity. |
| Designing with a purpose | – Define the banner’s role (celebrate, inform, brand) and where it will hang; consider viewing distance to guide text size, color, and layout; keep the concept clear for a strong final result. |
| Materials & planning | – Plan thoroughly before cutting/printing; assemble sturdy materials (vinyl or reinforced fabric), tools, and a layout plan; consider weather resistance and affordable options. |
| Step 1: Define size, text, and layout | – Choose indoor/outdoor size (e.g., 2×4 ft to 3×6 ft); draft a simple two-column layout; identify a focal point and keep text concise for readability. |
| Step 2: Typography & color palette | – Use 1–2 high-readability fonts; ensure strong contrast between text and background; select a color palette suitable for the space and material durability. |
| Step 3: Prepare artwork & templates | – Create scalable artwork or templates; use design software or graph-paper layouts; print proofs to check readability and alignment. |
| Step 4: Cut & assemble the banner base | – Prepare edges (hem/reinforced corners if needed); use transfer tape or cut vinyl carefully; ensure clean, straight edges and avoid air bubbles. |
| Step 5: Finishing touches & display prep | – Add grommets or pole pockets; perform a readability check from typical viewing distances; adjust text size/spacing as needed. |
| Step 6: Troubleshooting & avoid pitfalls | – Test on scrap material; watch for color bleed, misalignment, or edge issues; apply fixes before final production. |
| Step 7: Variations & ideas for banner types | – Adapt techniques for indoor, outdoor, or fabric banners; explore ideas for readability, layout, and material choices. |
| Step 8: Maintenance, storage, and longevity | – Store rolled or flat in a cool, dry place; avoid sun exposure; clean gently and protect inks/materials for reuse. |
| Conclusion | – A well-planned DIY Custom Banner project builds design, typography, and crafting skills, enabling future banners that look polished indoors or outdoors. |
Summary
DIY Custom Banner is a versatile project that invites beginners to turn simple materials into polished, event-ready displays. By starting with a clear purpose, selecting appropriate materials, and following a step-by-step process, you can create banners that communicate effectively at any venue. Focus on readability, contrast, and layout, test your work before finalizing, and experiment with variations to grow your skills. Plan ahead, stay patient, and soon your DIY banners will become reliable branding or decoration assets for future events. If you’re eager to tackle more, start planning your next DIY Custom Banner today and see your ideas come to life.