Sew and Iron-On Patches are a fantastic, beginner-friendly way to extend the life of clothing and accessories while adding a bit of personality. If you’re wondering how to sew patches, this simple guide breaks the process into clear, doable steps. Whether you choose to sew by hand or use a machine, patches can be applied cleanly and durably when you prepare fabric and edges properly. This introduction focuses on practical, time-tested techniques that help you finish patches so they stay put through regular washing. By the end, you’ll feel confident selecting patches, prepping fabric, and achieving a neat, lasting result that reflects your style.
In other terms, patches are fabric embellishments or repairs that can refresh a worn item without changing its core character. For instruction that mirrors natural learning, you can follow an iron-on patches step-by-step approach when you want speed and convenience. A comprehensive beginner patch sewing guide often covers tool choices, placement, and secure stitching, whether you’re fixing up a jacket or decorating a backpack. If you’re tackling clothing, learning the basics of sewing patches on clothes and choosing durable materials will help your project last through wear. Finally, the iron-on patch technique can be very effective with the right fabric and heat settings, but many crafters also learn to reinforce edges with light stitching for longevity.
Sew and Iron-On Patches: A Beginner-Friendly Overview
Sew and Iron-On Patches give you two reliable paths to refresh clothing and bags. Whether you’re repairing a worn elbow or personalizing a backpack, this beginner-friendly approach keeps things simple and durable. Exploring both methods upfront helps you decide which path to take for different fabrics and wash schedules, and it fits well with the ideas in a beginner patch sewing guide.
You’ll learn key decisions early, such as when to sew versus iron, how fabric weight affects your choice, and how to test patches in a small area. This overview aligns with the beginner patch sewing guide and provides practical guidance for how to sew patches and how to use iron-on patches step-by-step.
Sewing Patches by Hand or Machine: A Descriptive Beginner Patch Sewing Guide
Hand sewing offers durability for frequent-wear items and a closer connection to the fabric. Machine sewing speeds up projects and creates consistent edges. In terms of how to sew patches, both methods share core concepts: alignment, edge securement, and finishing touches.
To get started, assemble basics like needles, thread, pins, and a scrap fabric for practice. This overview mirrors the beginner patch sewing guide’s emphasis on practice and precision, and it sets the stage for successful sewing patches on clothes.
Choosing the Right Patch Type and Prep for Sewing Patches on Clothes
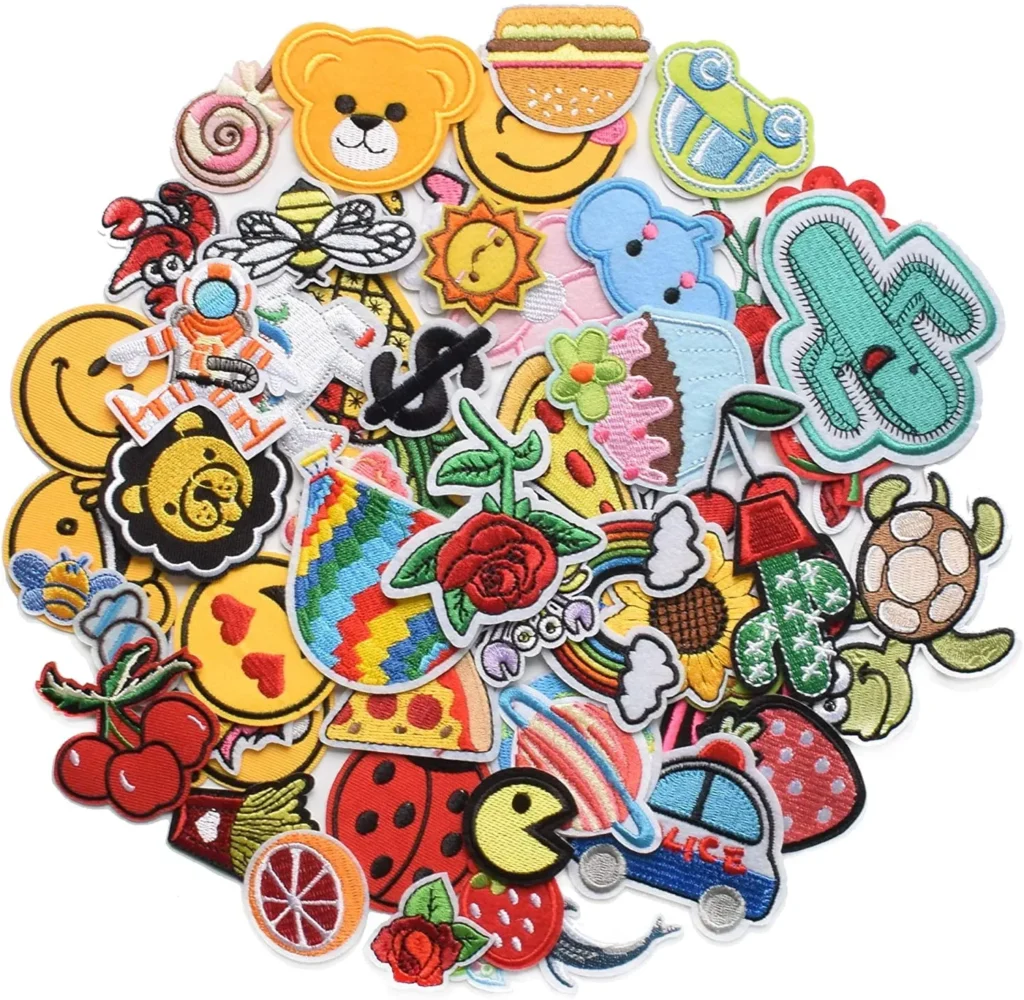
Patch types matter: embroidered patches add crisp edges and are forgiving on knits, while woven patches lay flatter on sturdy fabrics. Understanding backing and fabric compatibility helps you choose the right patch type for sewing patches on clothes.
Preparation is a big part of success: wash, press, mark placement, and smooth curved seams. Good prep reduces puckering and misalignment, translating to professional-looking results when you apply patches.
Iron-On Patches Step-By-Step: Quick, Safe Fixes You Can Do at Home
Iron-on patches step-by-step start with testing heat on scrap fabric, then positioning and pressing the patch with the adhesive side down. This method is quick for fixes and reduces sewing time for projects that don’t demand fiber-level durability.
Be mindful of fabric type and heat setting, and avoid sliding the iron. Let the patch cool before handling, and consider a quick stitch around the edges later for extra security on heavier fabrics or frequent-wear items.
Troubleshooting Common Patch Problems and Refining Your Iron-On Patch Technique
Common issues include patch edges lifting, patch not sticking, and fabric puckering. Troubleshooting your iron-on patch technique means checking fabric compatibility, adjusting heat, and applying extra stitches around the perimeter after the adhesive has cooled.
If an edge peels after washing, reinforce with careful backstitches or re-pressing. Small tweaks in placement and pressure can dramatically improve adhesion and longevity.
Care, Maintenance, and Creative Patch Projects
Caring for patches extends their life: wash garments inside out on gentle cycles and avoid high dryer heat unless patches are securely reinforced. For iron-on patches, allow a cool-down period after washing to help preserve the bond.
Patches aren’t just repairs; they’re design tools. Try patch collages on denim jackets, mix iron-on and sew-on patches for texture, or personalize garments with embroidery at the edges. If you want a structured path, you can follow the principles in how to sew patches and expand into new ideas with confidence.
Frequently Asked Questions
How do I choose between sewing patches on clothes and using Sew and Iron-On Patches as a beginner patch sewing guide?
Both methods work for different needs. For durability on items that are washed often, start with sewing patches on clothes. If you want a quick fix, try iron-on patches step-by-step—test fabric first, then follow heat and edge-securing steps. In many projects, you’ll use the Sew and Iron-On Patches approach to balance speed and longevity.
What are the steps in the iron-on patch technique for applying iron-on patches step-by-step to different fabrics?
Begin by testing heat on a scrap of fabric. Position the patch with the adhesive side down, cover with a pressing cloth, and press with a hot iron for the recommended time. Let it cool, then check adhesion and, if needed, repeat or add edge stitching around the patch for extra security.
What are the essential tips from a beginner patch sewing guide for applying Sew and Iron-On Patches to fabric?
Start with fabric prep and patch choice from the beginner patch sewing guide. For sew-on patches, use backstitch or ladder stitch around the edge for durability. For iron-on patches, verify fabric compatibility, apply heat as directed with a pressing cloth, and consider finishing with a few stitches after cooling.
How do I sew patches on clothes vs iron-on patches step-by-step for durability on frequently washed garments?
Sew-on patches are typically more durable in frequent washes—stitch around the edge with a tight, even stitch and reinforce as needed. Iron-on patches offer speed but may loosen with washing; if so, add securing stitches along the edge after ironing.
What common mistakes should I avoid with the iron-on patch technique and how can I prevent patches from lifting after washing?
Avoid using the wrong heat setting, skipping a patch test, and neglecting edge stitching. Fix by using the correct heat, testing on scrap fabric, applying a pressing cloth, and adding small stitches around the edge after ironing to lock it in.
Which tools and prep steps from the beginner patch sewing guide are essential when working with Sew and Iron-On Patches on clothes?
Gather patches, scissors, pins, chalk or fabric pen, needles, thread, an iron, ironing board, and a pressing cloth. Prep the fabric by washing and pressing, mark placement with chalk, then choose sew-on or iron-on methods and finish with edge stitching if desired.
| Topic | Key Points |
|---|---|
| Tools and supplies you’ll need | Patches types (embroidery or woven); scissors or fabric shears; pins or fabric tape; chalk/fabric marker; needle set (hand-sewing) or sewing machine; thread (matching or contrasting); thimble (optional); iron and ironing board; pressing cloth or parchment; extra patch backs for iron-on patches; fabric glue as a temporary hold (optional) (summary). |
| Choosing between sewing patches and iron-on patches | Two main routes: sew-on patches (durable, ideal for frequent washing) vs iron-on patches (fast, convenient). Test on a small, inconspicuous area to decide based on fabric type, patch material, and laundering frequency; start with a discreet area to validate method. |
| Patch types and prep | Embroidery patches (crisp edge, jersey-friendly backing) vs woven patches (thinner, flatter). Iron-on patches use a heat-activated adhesive. Prep: wash/dry garment, press flat, remove lint, mark placement with chalk, smooth fabric to avoid puckering. |
| Sewing patches by hand: step-by-step | 1) Position patch; 2) Thread and knot; 3) Backstitch around edge; 4) Edge stitch inside the patch edge; 5) Secure start/finish; 6) Optional reinforcement with a second pass for durability. |
| Iron-on patches: step-by-step | 1) Preheat iron to fabric-appropriate heat; place patch adhesive-side down with a pressing cloth; 2) Position and secure; 3) Apply heat/pressure (20–60 seconds, per patch); 4) Check adhesion; 5) Reapply heat along the edge for stronger bond; 6) Optional stitching after cooling for extra durability; 7) Let cool before washing. |
| Common mistakes and troubleshooting | Patches not sticking (adjust heat or re-sew edges); edges lift after washing (backstitch); puckering (use fabric stabilizer or gentler zigzag edge); uneven alignment (use chalk guides to center patch). |
| Care and maintenance for patches | Wash inside out on gentle cycle; cool dryer or air-dry; for iron-ons, let cool fully; re-sew or re-press edges if needed over time. |
| Creative ideas and projects | Patch collages on denim jackets or backpacks; mix iron-on and sew-on patches for texture; personalize garments with embroidery or initials; use patches to cover small holes with character. |
Summary
Sew and Iron-On Patches offer a practical, creative way to refresh old garments and make new ones uniquely yours. This guide covers choosing between sewing patches by hand or machine and using iron-on patches, prepping fabric, applying patches, and caring for them to withstand daily wear and washing. You’ll learn how to select patch types, prepare the fabric, and finish patches so they stay put, enhancing durability and appearance. Whether you prefer the durability of hand sewing or the speed of iron-ons, these step-by-step methods with pro tips help you avoid common mistakes. Start experimenting with layouts, mix patch types for texture, and enjoy personalized, long-lasting results that extend the life of clothing and accessories.