Custom Patches have transformed storytelling on fabric, enabling brands, clubs, and individuals to express identity with flair. A well-crafted patch communicates values and adds personality to uniforms, backpacks, hats, and jackets, whether you choose embroidered patches. This introductory guide explores design considerations, production realities, and practical steps that help creators, manufacturers, and buyers move from concept to finished product with confidence, across teams, departments, and small ventures worldwide, while also outlining potential budget, timeline, and quality benchmarks before production begins. Thoughtful design focuses on size, shape, color management, backing, and material choices to ensure legibility, durability, and visual impact across fabrics, from twill to felt and blends, suitable for a range of uses and diverse applications. By patch design ideas with practical fabrication realities, you can translate inspiration into a durable, wearable emblem that strengthens a brand or team, and keep a clear path from concept to completion and lasting durability.
Beyond traditional fabric badges, organizations now use custom insignias to foster team identity and sponsor recognition on uniforms, bags, caps, and outerwear. These textile emblems can be created through embroidery, weaving, or durable PVC, offering flexible textures and a range of backing options for different installation methods. The design process for these badges draws on branding guidelines, visual hierarchy, and practical constraints of wearables, guiding decisions from shape and color to edge finishing and attachment methods. Choosing the right partner for badge customization matters, with attention to portfolios, lead times, material options, and post-sales support.
Custom Patches: Tell Your Brand Story with Patch Design Ideas
Custom Patches empower brands, clubs, and individuals to tell stories on fabric. A well-designed patch communicates identity, values, and personality on uniforms, backpacks, hats, and jackets, turning everyday garments into a signature statement.
When developing patch design ideas, prioritize legibility, size, color management, and durability. Bold shapes, high-contrast color blocks, and clean outlines translate well to embroidered patches and woven patches, while keeping production costs sensible and ensuring visibility from a distance. This approach also aligns with the patch production process, helping you move from concept to finished product more smoothly.
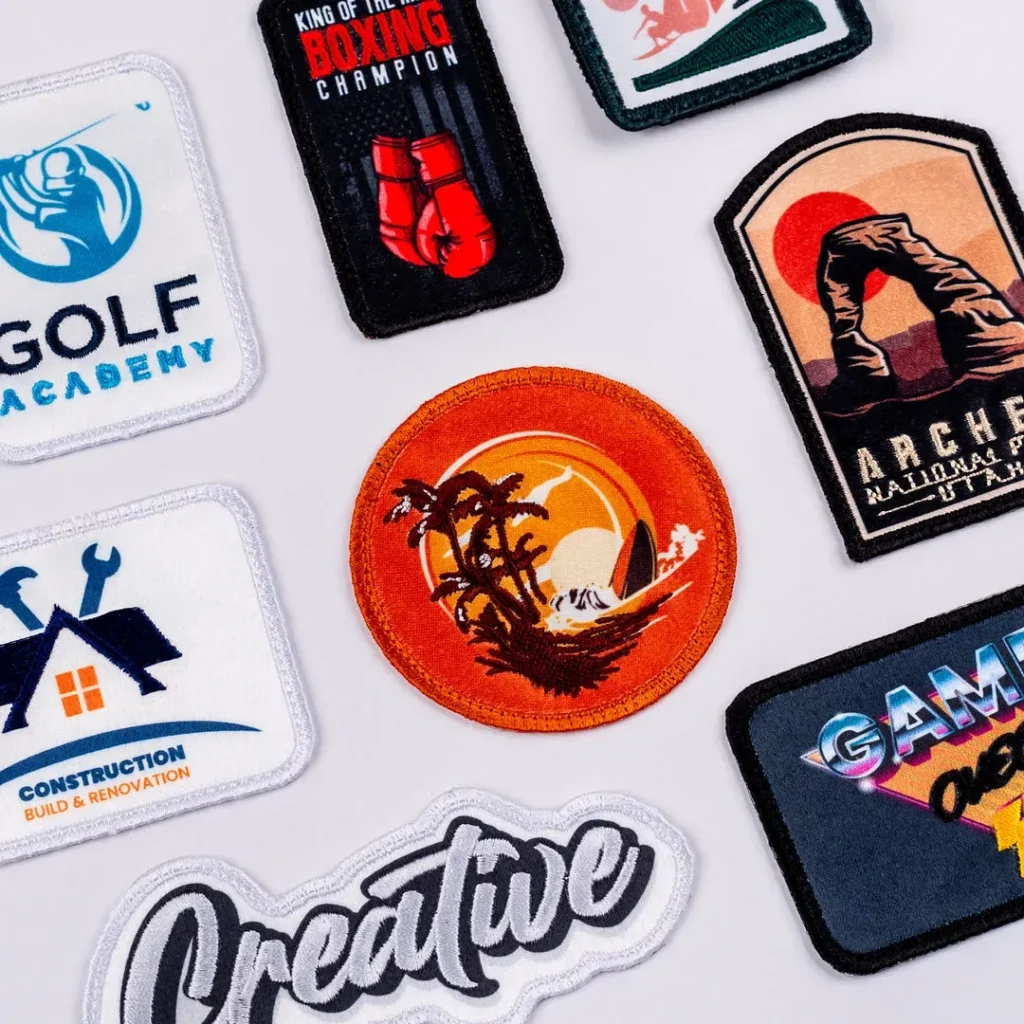
Patches 101: Embroidered, Woven, Iron-On, and PVC Patches Explained
Patches come in several varieties, each offering a distinct look and feel. Embroidered patches deliver bold color blocks and durable merrow borders; woven patches provide finer detail and smoother edges.
Iron-on patches offer quick DIY attachment for retail or home use, while PVC patches deliver a modern, weatherproof, raised look. Each type aligns with different use cases—uniforms, streetwear, or event merchandise—and feeds into patch design ideas to suit specific applications.
From Concept to File: Patch Design Ideas and the Digitizing Process
The design phase translates patch design ideas into artwork that is production-ready for embroidery or weaving. It balances brand identity, fabric constraints, and legibility to ensure the final patch communicates clearly.
Digitizing converts artwork into stitch instructions, with clear line work, proper underlay, and color stops for embroidery; for woven patches, vectoring preserves fine details. This handoff is a crucial step in the patch production process that determines stitch quality and final appearance.
Production Planning: Color Management and Edge Finishing in the Patch Production Process
Once the design is locked, production planning focuses on color management, stitch count, and backing choices to ensure consistent results across batches. Establishing a color plan using Pantone or DST references helps maintain thread colors throughout production.
Edge finishing, such as merrow borders or laser-cut outlines on woven patches, impacts durability and aesthetics. Backing options—sew-on, iron-on, or Velcro—should match the end use and washing expectations to optimize performance.
Application Techniques for Patches: Sew-On, Iron-On, and Reversible Solutions
Application techniques for patches determine how easy they are to apply and how long they last. Sew-on patches offer maximum durability across fabrics, while iron-on patches provide convenient DIY attachment with careful heat settings.
For reversible or interchangeable looks, Velcro-backed patches enable easy swapping, and hybrid approaches combine iron-on setup with subsequent stitching for enhanced longevity. Mastery of these methods ensures patches perform well in real-world wear.
Choosing a Partner for Custom Patches: Quality, Sustainability, and Lead Times
Selecting a patch partner means reviewing portfolios across embroidered, woven, and PVC patches, and understanding timelines, communication, and pricing. A strong supplier demonstrates consistency across materials and finishes.
Ask about minimums, backing options, edge finishes, color management tolerance, and post-production QC. If sustainability matters, discuss material sourcing, dye methods, and ethical manufacturing practices to align with your values and project goals.
Frequently Asked Questions
What are the main differences between embroidered patches and iron-on patches for custom patches?
Embroidered patches use stitched threads on a fabric backing with a merrow edge, offering durability and a classic texture; iron-on patches have heat-activated adhesive for quick DIY attachment. For custom patches, choose based on fabric type, laundering needs, and long-term wear, noting that iron-on options can be less durable on heavy-use fabrics.
Which patch design ideas are most effective for custom patches to maximize legibility and brand impact?
Strong patch design ideas include bold mascots and logos with high-contrast colors, monograms for personalization, event branding with clear text, and tiered designs that combine a core patch with a secondary badge. These ideas translate well across embroidered patches and woven patches, balancing readability with brand identity.
What is the patch production process for custom patches, from digitizing to finishing?
The patch production process starts with digitizing or vectoring the artwork for embroidery or weaving, followed by color management and stitch count planning. Then edge finishing (merrow or laser-cut), backing selection, and final quality control ensure consistent color, alignment, and durability before packaging.
What are the best application techniques for custom patches on different fabrics, including sew-on, iron-on, and reversible options?
Application techniques for patches vary by fabric: sew-on patches use stitching around the border for maximum durability on most fabrics; iron-on patches attach with heat and pressure for quick DIY use but may require reinforcement on delicate or high-wash fabrics; Velcro-backed patches offer reversible wear for uniforms or interchangeable looks.
How should I choose backing and edge finishes for embroidered patches during patch production?
Backing options include sew-on (universal and durable), iron-on (quick attachment), and Velcro (reversible). Edge finishes like merrowed borders provide durability and coverage, while laser-cut or heat-cut edges offer a sleeker look for woven patches or certain production methods. Align backing and edge with end-use and wash expectations.
How can I ensure color accuracy and durability in custom patches through material choices and color management?
Use standard color guides (Pantone, DST) for consistent thread colors and select materials suited to the environment (UV- or marine-grade threads for outdoor use). Controlling stitch density, choosing appropriate fabric bases (twill, felt, or PVC), and testing washing conditions help maintain color accuracy and longevity across production lots.
| Section | Key Points |
|---|---|
| Introduction |
Custom Patches have transformed how brands, clubs, and individuals tell stories on fabric. A well-designed patch conveys identity, values, and personality across uniforms, backpacks, hats, and jackets. This guide covers the design, production, and application of custom patches, offering practical insights for creators, manufacturers, and buyers alike. |
| Design considerations |
|
| Types of patches |
|
| From concept to file: patch design ideas |
|
| Production planning: digitizing, color, and backing choices |
|
| The patch production process: steps, QC, and finishing |
|
| Application techniques for patches |
|
| Quality, customization, and choosing a partner for your patch project |
|
| Conclusion: bringing it all together for successful custom patches |
|
Summary
Custom Patches offer a powerful way to express identity and tell a story on fabric across uniforms, backpacks, hats, and jackets. A strong patch design balances legibility, brand identity, and fabric constraints, while production planning ensures accurate color matching, stitch counts, and durable backing. Choosing the right patch type—embroidered, woven, or PVC—along with edge finishes and backing options, affects appearance and wear in different environments. Proper application techniques, from sew-on to iron-on or Velcro-backed systems, determine long-term durability and user experience. When you align design, production, and application with your end use in mind, your patches will wear well and reinforce your brand or team for years to come.